Crafting Realistic Landscapes for Your HO Scale Layout
Creating a realistic landscape for your HO scale model railroad layout is both an art and a science. HO scale, with its 1:87 ratio, is one of the most popular scales for model railroading due to its balance of detail and manageable size. A well-crafted landscape can bring your layout to life, transforming a simple track plan into a miniature world that captivates viewers. Whether you're depicting rugged mountains, rolling plains, or urban sprawl, the key lies in careful planning, attention to detail, and the right materials. In this article, we'll explore the essential steps and techniques for crafting stunning, realistic landscapes for your HO scale layout.
Planning Your Landscape
Before you start building, take the time to plan your landscape. A well-thought-out design ensures that your layout looks cohesive and believable. Begin by deciding on the theme or setting of your railroad. Are you modeling a specific region, like the Rocky Mountains, the Midwest farmlands, or a bustling industrial city? Researching real-world locations can provide inspiration and help you understand the terrain, vegetation, and structures typical of that area.
Sketch a rough layout of your landscape, incorporating natural features like hills, valleys, rivers, and forests, as well as man-made elements like roads, bridges, and buildings. Consider how these elements interact with your track plan. For example, a river might run parallel to the tracks or require a bridge for the train to cross. Think about elevation changes—real railroads often navigate varied terrain, and adding subtle slopes or steep grades can enhance realism.
Finally, determine the scale of your landscape features. In HO scale, a six-inch hill represents over 40 feet in real life, so even small elevation changes can appear dramatic. Keep proportions in mind to avoid oversized or undersized elements that might break the illusion of realism.
Building the Base Structure
The foundation of any realistic landscape is a sturdy base structure that supports your terrain. Most modelers use a combination of foam board, plywood, or wire mesh to create the basic shape of the landscape. Foam board is lightweight, easy to cut, and ideal for creating hills and mountains. Stack layers of foam to build up elevation, securing them with glue or pins, and carve them into natural shapes with a hot wire cutter or knife.
For more complex terrain, consider using a wire mesh or cardboard strip framework covered with plaster cloth. This method allows for more organic, flowing shapes and is particularly effective for rugged landscapes like canyons or cliffs. Once the plaster cloth dries, it forms a hard shell that can be painted and detailed.
Ensure your base structure is secure and integrates well with your track. Test run your trains to confirm that grades are manageable and there’s enough clearance for tunnels or bridges. A solid foundation prevents future issues like sagging terrain or misaligned tracks.
Adding Ground Cover and Texture
Once the base structure is complete, it’s time to add ground cover to mimic soil, grass, and rocks. Start with a base layer of paint in earth tones like brown, gray, or tan to represent bare ground. Acrylic paints work well for this purpose as they dry quickly and adhere to most surfaces.
Next, apply scenic materials to create texture. For grassy areas, use static grass or ground foam in various shades of green to simulate natural variation. Static grass applicators can help create a realistic, upright grass effect, especially for fields or meadows. Sprinkle ground foam over a layer of diluted white glue, pressing it down lightly to secure it. For dirt or gravel paths, use fine sand or commercial ballast material, sealing it with a spray of scenic cement.
Rocks and boulders add depth to your landscape. You can purchase pre-made rock castings or create your own by carving foam or using crumpled aluminum foil as a mold for plaster. Paint the rocks in natural shades of gray or brown, and use a wash of diluted black paint to highlight crevices and add weathering effects. Place larger rocks near cliffs or riverbanks, and scatter smaller pebbles along paths or tracks for added realism.
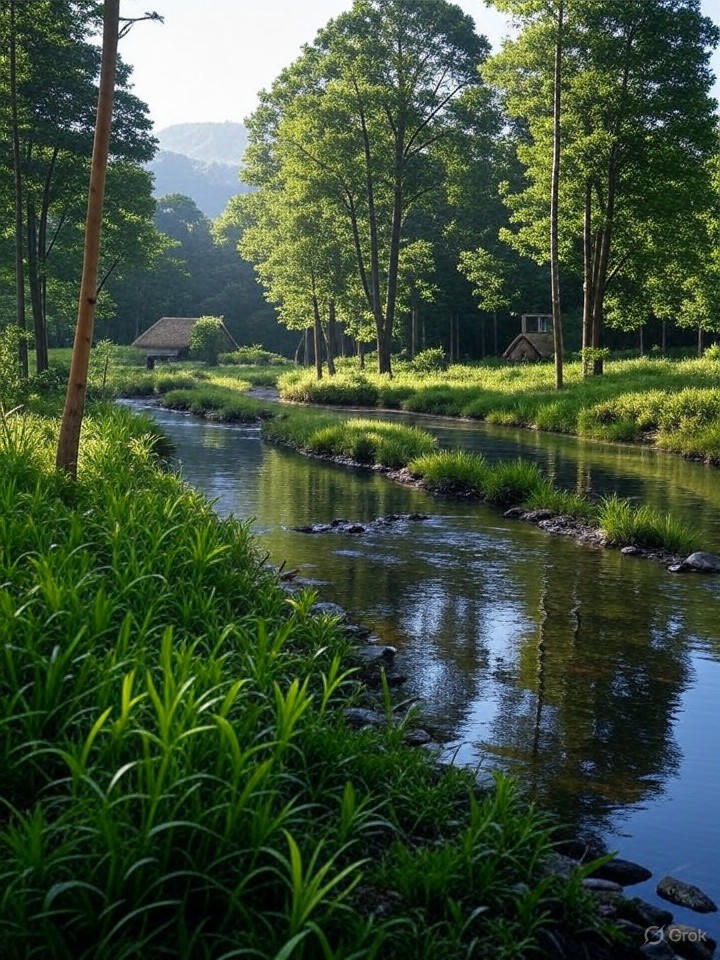
Incorporating Water Features
Water features like rivers, lakes, or ponds can be a striking addition to an HO scale layout, but they require careful execution to look realistic. Start by carving out the shape of the water body into your base structure, ensuring it sits slightly below the surrounding terrain. Paint the bottom of the water area in dark colors like deep blue, green, or brown to suggest depth.
There are several products available for simulating water, such as resin or silicone-based materials that dry clear or with a slight ripple effect. Woodland Scenics Realistic Water and EnviroTex Lite are popular choices among modelers. Pour the material in thin layers, allowing each layer to cure before adding the next, to avoid cracking or clouding. For moving water like streams or waterfalls, use clear silicone caulk or gel medium to create ripples or waves, applying it with a brush or toothpick